
Luxury Vinyl Plank (LVP) is a preferred choice for Southern California homeowners executing high-stakes kitchen and bathroom remodels. Its visual similarity to natural hardwood, combined with waterproof performance, makes it ideal for properties in Orange County, Riverside, and Ventura. However, because it is marketed as a highly durable material, many homeowners and inexperienced contractors underestimate the precision required during its setup.
Experiencing a flooring failure after investing thousands of dollars in a structural remodel is a stressful and costly ordeal. Most performance issues do not stem from product defects, but from predictable common mistakes when installing vinyl plank flooring. Understanding these pitfalls helps safeguard your property value. If you prefer a flawless finish that honors manufacturer warranties, outsourcing the project to a specialized vinyl plank flooring installation team is the most effective way to eliminate risk from day one.
1. Rushing or Skipping the Acclimation Period
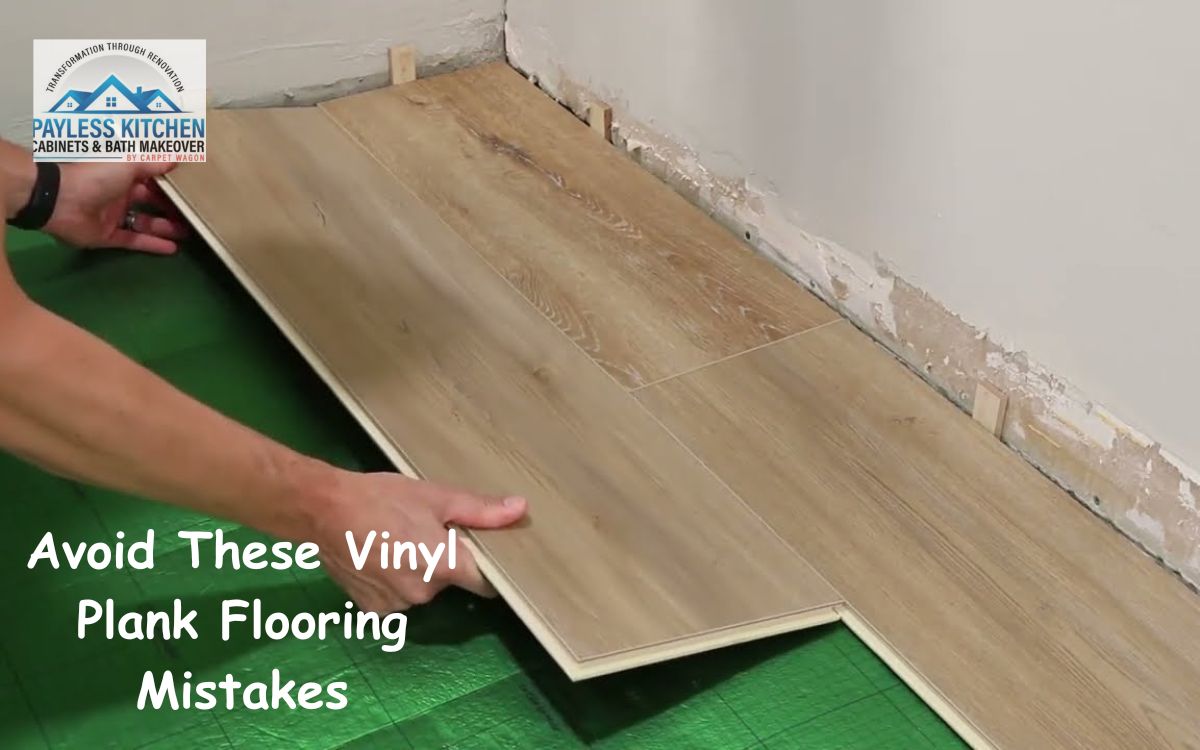
LVP is fundamentally composed of polyvinyl chloride (PVC), which expands and contracts in response to ambient temperature changes. A frequent error is installing the planks immediately after delivery.
- The Technical Requirement: Material must sit flat in the target installation environment for a minimum of 48 hours.
- The Risk: If you install planks that are cold from a delivery truck into a sun-warmed Riverside home, they will expand post-installation. This leads to “tenting” or “peaking,” where the planks push against each other and lift off the subfloor.
2. Inadequate Subfloor Preparation
LVP is highly flexible, meaning it will eventually conform to whatever irregularities exist underneath it.
- The Flatness Standard: Subfloors must be flat within 3/16 of an inch over a 10-foot radius.
- The Error: Leaving low spots or high ridges in a concrete slab. Over time, walking across an uneven surface causes the planks to flex vertically. This constant deflection stresses the tongue-and-groove locking mechanisms until they snap, creating permanent gaps that collect moisture and dirt.
3. Omitting the Perimeter Expansion Gap
A floating floor requires room to move as seasons shift between humid coastal mornings in Ventura and dry afternoons inland.
- The Error: Installing the vinyl planks flush against dry wall, baseboards, or kitchen cabinetry.
- The Proper Technique: A continuous 1/4-inch to 1/2-inch expansion gap must be maintained around the entire perimeter of the room. This gap is later concealed by baseboards or quarter-round molding. Without it, the expanding floor has nowhere to go but upward, causing large sections to buckle.
4. Tapping and Striking the Planks Directly
The locking lips of modern click-together flooring are engineered with high precision, making them incredibly thin and fragile.
- The Error: Striking the edge of a plank directly with a metal hammer or rubber mallet to close a gap.
- The Consequence: This fractures the internal locking profile. Even if the joint looks closed during installation, the microscopic fractures will cause the seams to separate within a few months under normal foot traffic. Always utilize a dedicated tapping block to distribute the force evenly.
5. Neglecting a Subfloor Moisture Barrier on Concrete
Concrete slabs absorb and release moisture vapor continuously. While the vinyl plank itself is waterproof, the moisture vapor rising from the ground carries alkaline salts.
- The Mistake: Failing to lay a 6-mil polyethylene vapor barrier over raw concrete slabs before installing LVP.
- The Result: Trapped moisture vapor can degrade the flooring backing, encourage mold growth along the perimeter walls, or damage the subfloor structure in older Southern California homes.
6. Creating a Repetitive “Stair-Step” Pattern
Achieving a natural wood visual requires randomizing the layout of the planks.
- The Error: Starting every alternating row with a half-plank, which creates an obvious, artificial “stair-step” or “H-joint” pattern down the floor.
- The Quality Standard: Joint end seams should be staggered randomly by at least 8 to 12 inches from the adjacent row. This ensures optimal weight distribution and structural stability across the entire interlocking grid.
7. Installing Heavy Custom Cabinets Over a Floating Floor
Floating floors are designed to move as a unified unit.
- The Structural Mistake: Laying the vinyl flooring across the entire room first, and then installing heavy kitchen islands or solid wood cabinetry on top of it.
- The Consequence: The immense weight pinches the floor to the subfloor, preventing natural thermal expansion. The floor will inevitably buckle or tear apart at its weakest joints near the cabinets. Custom cabinetry should always be anchored directly to the subfloor first, with the flooring installed around it.
Contractor Perspective: “During technical site assessments across Orange County, we frequently diagnose buckling floors that were pinched by a newly installed kitchen island. We always advise clients that the correct sequence is critical: cabinets stand on the structural subfloor, and the floating floor floats around them, neatly finished with matching trim.”
Precision Renovation Engineering Since 1985
At Payless Kitchen Cabinets, we believe structural integrity is the true measure of premium craftsmanship. With more than 40 years of business and 1,100+ verified 5-star reviews, we have built our reputation across Southern California by executing home transformations with absolute precision. We approach every floor installation with a rigorous technical checklist from moisture testing slabs to leveling foundations ensuring your long-term investment is protected by proven industry standards.
Frequently Asked Questions (FAQ)
1. Can I fix a vinyl plank floor that is already buckling?
A. If the buckling is caused by a missing expansion gap, it can sometimes be repaired by removing the perimeter baseboards and trimming the edges of the planks back with a multi-tool to create the proper clearance. If the joints are broken due to an uneven subfloor, those sections must be uninstalled, leveled, and replaced.
2. Do I need an underlayment for luxury vinyl plank flooring?
A. It depends on the product specifications. Many premium LVP brands feature an integrated acoustic foam or cork backing, which negates the need for a separate underlayment. Adding a secondary soft underlayment when it is not approved by the manufacturer can make the floor too soft, leading to locking mechanism failure under heavy loads.
3. How soon can I place heavy furniture on my new LVP floor?
A. If your floor was installed using the floating click-lock method, you can place furniture and walk on the surface immediately after installation. If a glue-down method was required for your specific subfloor, you must wait 24 to 48 hours for the urethane adhesive to cure fully.
Conclusion
A flawless floor requires a seamless integration of quality materials and exact technical execution. If you want to avoid the common pitfalls of a flawed installation and ensure your home remodel stands the test of time, our specialized teams are ready to deliver.
Schedule a Project Estimate with Payless Kitchen Cabinets today, or stop by our local showroom to explore our 2026 luxury flooring collections.