
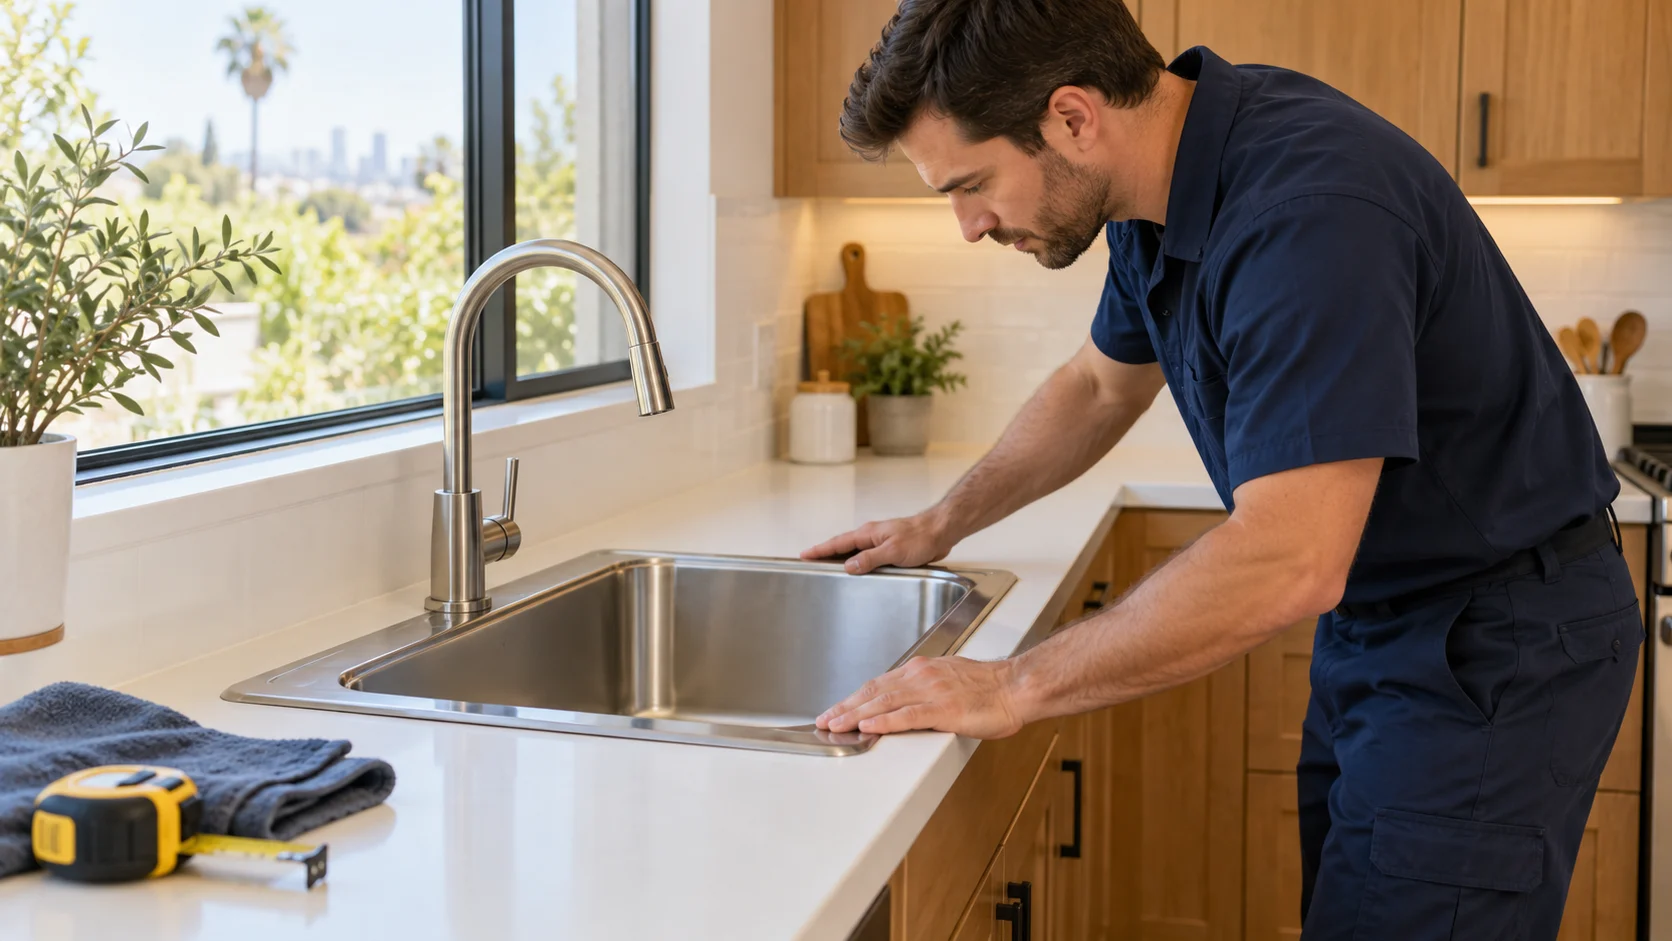
The installation of kitchen sink fixtures starts before the old sink comes out. The replacement needs to fit the countertop opening, work with the cabinet below, and connect properly to the plumbing. Getting these details right helps prevent a simple upgrade from becoming an unexpected remodeling project.
Perhaps your current bowl is too shallow, the surface is worn, or the sink no longer suits the way you cook and clean. Whatever the reason for replacing it, choose the new sink around your existing space and everyday needs.
This guide explains what to check, how installation typically progresses, and which questions to discuss with Payless Kitchen Cabinets before work begins.
Plan the Installation of Kitchen Sink Fixtures Before Removal
Start by deciding what will stay. Keeping the countertop, faucet, and cabinet creates different requirements from replacing the entire sink area.
Write down the problems you want to solve. A larger bowl might make washing pans easier, but it could reduce surrounding counter space. A deeper sink may provide more room inside the bowl while leaving less clearance beneath it.
Before ordering, confirm:
- The sink model’s minimum cabinet size.
- The required countertop opening and mounting method.
- Clearance beneath the bowl for plumbing and equipment.
- Faucet and accessory hole compatibility.
- The condition of the surrounding cabinet and countertop.
Check the manufacturer’s specifications for the exact product. Measuring only the visible rim of your existing sink will not establish whether a replacement fits.
Choose a Sink Style That Suits the Existing Kitchen
Sink styles have different installation requirements. Choosing one purely for its appearance can introduce work you had not budgeted for.
A drop-in sink has a rim that sits above the countertop. An undermount sink attaches beneath the surface and needs a compatible countertop and mounting system. An apron-front or farmhouse sink may require changes to the cabinet front and additional support.
Explore Payless Kitchen Cabinets’ kitchen sink options to narrow your preferred style before confirming compatibility.
For a sink mounted beneath the counter, review the undermount sink installation guide. If you prefer an exposed apron, the farmhouse sink installation guide covers considerations specific to that design.
These choices should be settled before removal begins, especially when you intend to retain the countertop.
How to Install a Kitchen Sink: Understand the Main Stages
Homeowners researching how to install a kitchen sink benefit from understanding the sequence, even when hiring an installer. The exact tools, sealants, supports, and fastening methods depend on the selected sink and countertop.
1. Prepare the Work Area
Clear the countertop and empty the cabinet below. The installer protects surrounding surfaces, isolates the water supply, and handles any connected electrical equipment safely before disconnecting components.
2. Remove the Existing Sink
The old plumbing connections and mounting components are disconnected as appropriate. The sink is supported during removal, and the exposed opening is checked for damage.
3. Check the Opening and Fit
Old sealing material is removed, and the replacement is checked against the opening and available clearance. Any necessary countertop modification should be assessed before proceeding.
4. Secure and Seal the Sink
The sink is installed using the specified mounting hardware, support, and compatible sealing products. Installation methods differ between drop-in, undermount, and apron-front designs.
5. Reconnect and Test
The installer reconnects the appropriate components and checks operation and drainage. Any required sealant curing time must be respected before testing or use.
Check Kitchen Sink Plumbing Connections Early
Kitchen sink plumbing connections deserve attention during product selection. A replacement bowl may be deeper than the old one, and its drain may sit in a different position.
Have the installer assess how the new arrangement will accommodate the drain, trap, supply lines, and any disposal or dishwasher connection. Keeping the same countertop opening does not guarantee that all plumbing can remain unchanged.
Mention any existing drips, slow drainage, or difficult-to-operate shutoff valves before work starts. These issues can affect the scope and should be considered in the estimate.
If you are also changing the faucet, review the kitchen sink faucet installation guide. Confirm mounting holes, handle clearance, and space for pull-down hoses or accessories.
Understand Kitchen Sink Installation Cost
Kitchen sink installation cost depends on the complete scope, including the sink itself and the work needed to fit it.
A compatible replacement using the existing opening is a different project from changing the mounting style, modifying cabinetry, or adjusting plumbing.
Request an estimate that identifies:
- The sink and any selected accessories.
- Removal and disposal of the old unit.
- Installation labor and mounting components.
- Plumbing adjustments and reconnections.
- Countertop or cabinet modifications.
- Exclusions and potential additional work.
Ask whether faucet or disposal replacement is included. Also clarify how unexpected damage will be documented and approved.
Compare estimates covering equivalent work. A lower initial figure may exclude preparation or connections that another estimate includes.
Avoid Common Kitchen Sink Installation Mistakes
Common kitchen sink installation mistakes often begin with decisions made before installation day.
Buying before checking the opening: A sink’s overall dimensions and its required cutout are not interchangeable. Verify the product specifications against the actual space.
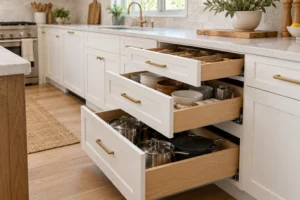
Overlooking cabinet clearance: The bowl, mounting components, plumbing, and accessories all need room. Storage organizers may also need repositioning.
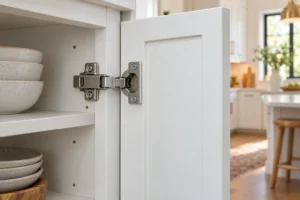
Choosing incompatible mounting components: Clips and supports must suit the specific sink and installation. Hardware should not be selected solely because it resembles the old fittings.
Ignoring existing damage: A replacement sink will not resolve deteriorated cabinet panels or a damaged countertop edge. Have these areas assessed first.
Using the sink too soon: Confirm when the installation can be used. Sealing products and installation methods can have different requirements.
Complete Your Kitchen Sink Replacement With Final Checks
Before calling a kitchen sink replacement finished, ask the installer to demonstrate the faucet, stopper, and any connected accessories.
Check that the installation has been tested for leaks and that the sink drains properly. Look inside the cabinet with the installer and confirm that valves remain accessible.
Keep the product information, care instructions, and warranty documents together. Ask which cleaning products are suitable for the sink and surrounding surfaces.
Payless Kitchen Cabinets can help you explore sink options as part of your kitchen upgrade. Bring photographs and the details of any components you want to retain so the proposed work reflects your actual space.
Contact Payless Kitchen Cabinets to plan the installation of kitchen sink fixtures around your kitchen, preferences, and budget.
Frequently Asked Questions
Can I replace a kitchen sink without replacing the countertop?
Often, yes, if the countertop is sound and the replacement suits the existing opening and mounting arrangement. Have a professional assess compatibility before purchasing the sink.
How long does kitchen sink installation take?
Timing depends on the sink style, removal requirements, plumbing adjustments, and any cabinet or countertop work. Ask for a project-specific schedule that includes the wait before first use.
Can I install a deeper kitchen sink?
Possibly, but a deeper bowl reduces clearance beneath it. The installer should check the drain arrangement, disposal space, and cabinet interior before recommending a model.
Does kitchen sink replacement include a new faucet?
Not automatically. A compatible faucet may be retained, or you can include a replacement in the project. Make sure the written estimate states which option is included.
Should I install the sink myself or hire a professional?
That depends on your experience and the installation requirements. Countertop modifications, heavy sinks, unfamiliar plumbing, or changes to connected equipment are good reasons to involve a qualified professional.